I have been asked on a number of occasions why I don’t make process videos of making my work. To be honest the idea of having to do one more thing, record and edit a video for social media or anything else bugs the shit out of me. I have way to much to do, and frankly watching me work would be about as exciting as watching paint dry.
A large portion of my process is looking and making slow incremental changes over long periods of time. The upfront part might be a bit exciting to watch since it starts with creating stains, washes, marks, and lines with various material on board and paper. After that not so much. It’s me scanning elements, going through folder after folder of photos I have taken. Examining the scanned items to determine what works well together and might compliment a group of images etc.
But I don’t want to ignore the fact that people are curious about how I work so I thought I’d try and lay it out in a simplified version here.
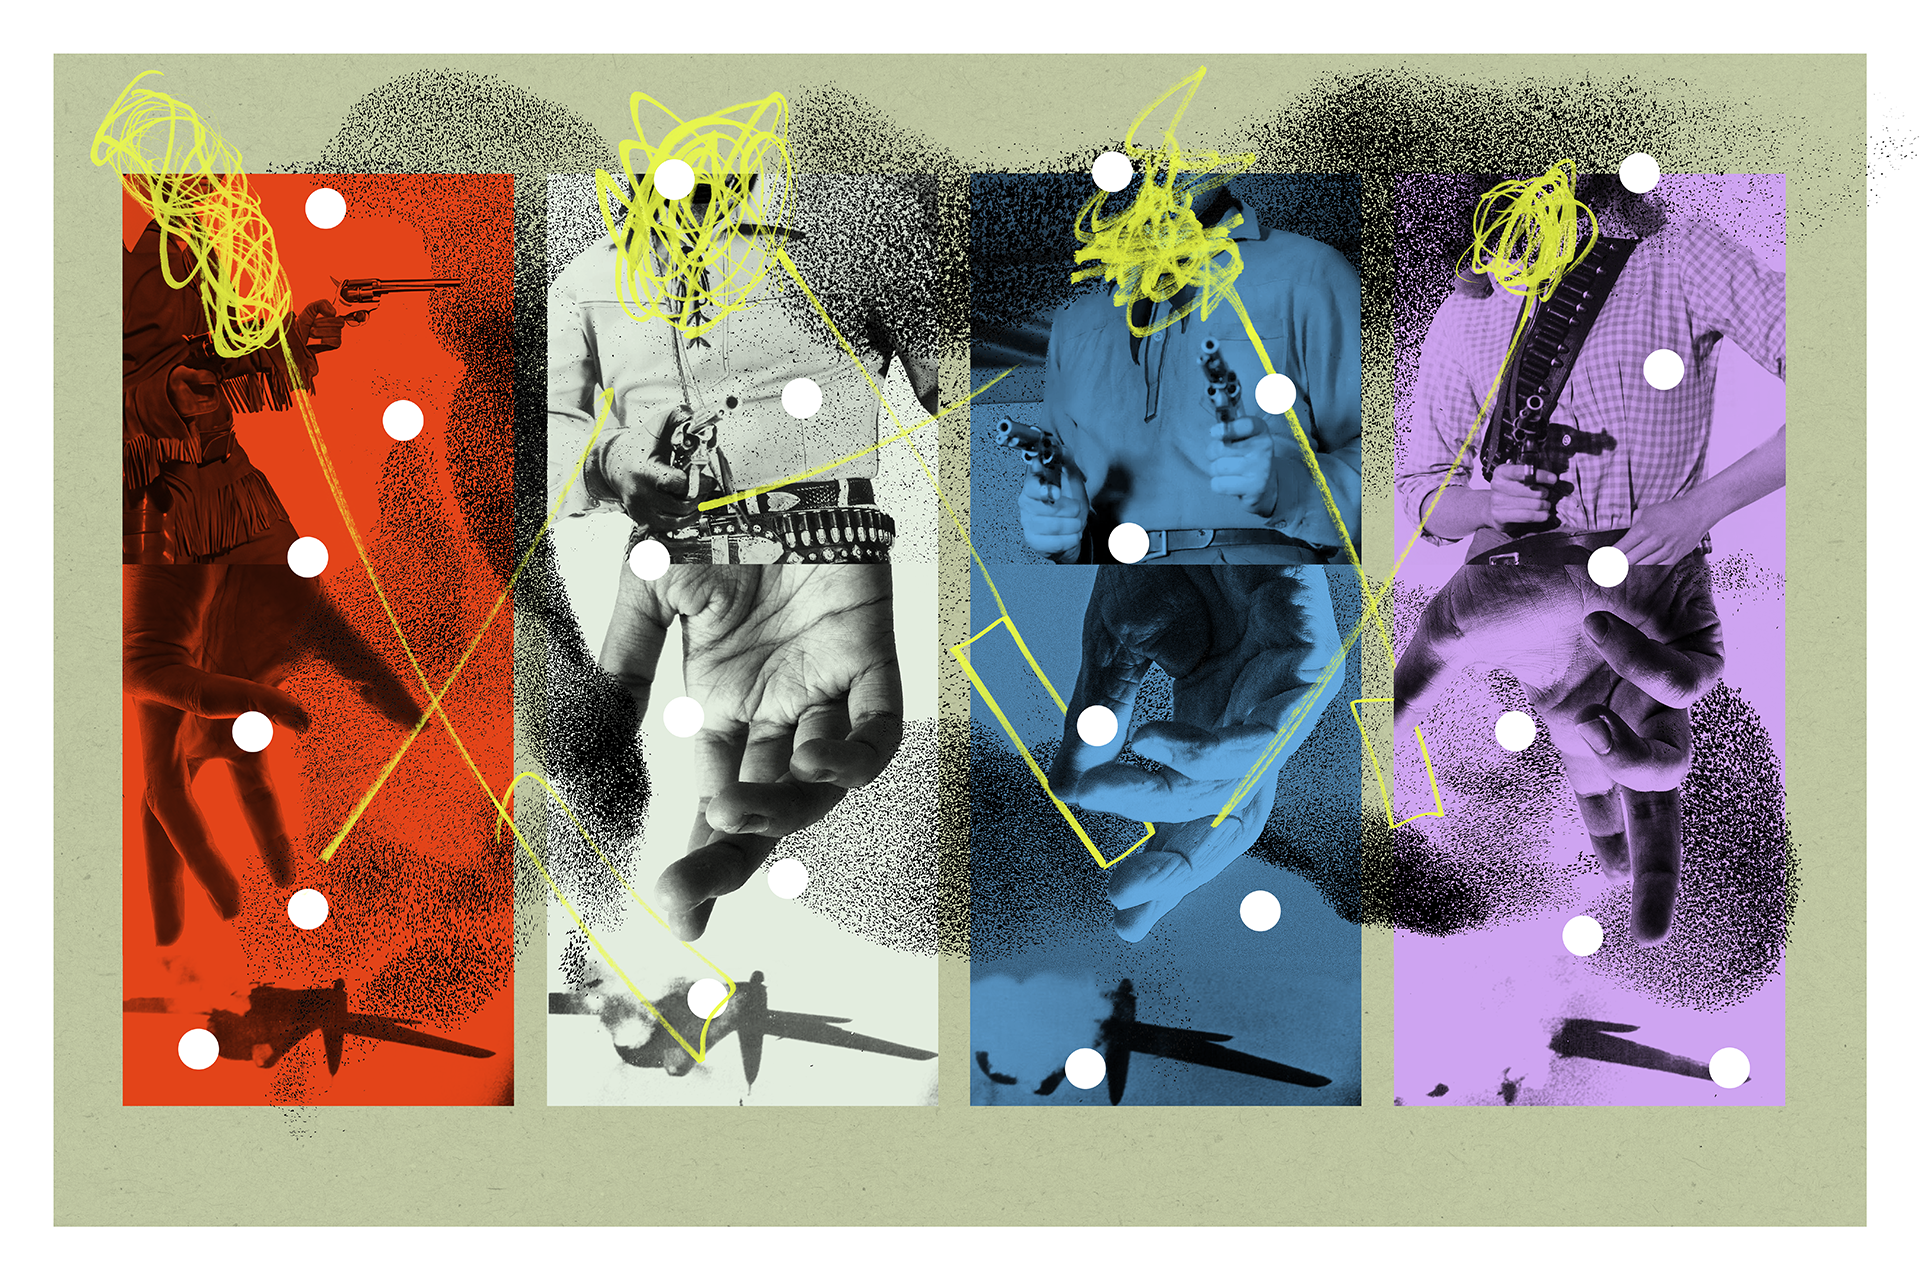
Things always start with a sketchbook. It’s where I have written down ideas, sketched out a basic concept and penciled in notes. For example what you see here started out with a line from a song by Roxy Music that was stuck in my head. I thought it would make a great title for something in the future. That led to looking for a handful of images that could convey what I had in mind, which led to drawing up a basic concept and then waiting. Yes waiting for how ever long it took for the idea to begin to gel in my mind.
Three or four weeks later when I was taking photos of my wife’s hands isolated against a black background this concept came back to me. Something about the process of taking 30 or 40 photos of her hands triggered the memory of the line from the song, which got me revisiting pages in the sketchbook, and the ball started rolling.
I created a new file in Photoshop and began looking through the scanned washes and stains, selecting ones that I thought would work. When I decided on one I opened it and then crushed the black and white points using the curves pallet to increase the contrast. The images are 16 bit gray scale so I loaded the gray channel selection and duplicated that selected section to a new layer.

The base layer was then hidden and the new layer of just the texture was duplicated multiple times to increase the density of the grayscale image. Those layers were merged, I selected all, copied and pasted into a new document sized for final output.

Once the new layer was pasted it was colorized using a layer effect. The blending mode was set to interact with the base layer and the process was repeated until the washed, marks, lines and stains reached a stopping point.This is where things slow way down. I can spend hours adjust blending modes, color combinations, masking, positioning and refining the base layers developing the initial composition. It’s why a screen recording or a video of me working would put most people to sleep, even if it was sped up to just a few minutes. Sometime the changes are so subtle you’d be hard pressed to notice what I had actually done.

From this point the photos are layered in, often swapped out multiple times. The positioning and layer order gets rearranged about 100 times, and then I often spend hours making subtle changes, or just looking to make sure that things read the way I want them to visually. Often stepping back to view the screen at a distance to determine if things read well from far away as well as up close.
When I reach what feels like a stopping point, I will pull a test print at 13×19 inches to see what adjustments need to be made to things like hue and saturation. Once that is dialed in, I print sections of the image that will get taped together at one hundred percent size to get a feel for how the image will look when it gets output on a large format printer. It’s a necessary pain in the ass, but I need to see the work full size before I send it out to a service bureau. It also helps me decide what the substrate will be for the final work. Paper, Aluminum Dibond, paper mounted to cradled wood panel etc.
At this point I often make a few final tweaks and then when the image is ready a flattened file is sent to the service bureau for printing on a substrate that feels right for it. If the work is paper mounted on a wood panel I do that in the studio, mounting the paper to gessoed cradled wood panels using Ph neutral PVA acid free glue, then spray varnishing it with UV resistant acrylic spray.
In this case the image was sent to Giclee Today and printed on Hahnemuhle Photo Rag 308 paper. It will be float mounted in a shadow box museum frame so that the edges of the paper are visible. This image was cut, but I often have the edges torn to create a deckled edge which is visually more interesting.
Once the file has been printed. The image is struck. The file is flattened and the size is reduced to 72ppi with the longest edge at 1280 pixels. It is then archived and is no longer available to reprint.
And that is the 100, 000 foot view of my process in a nutshell.

